Stop the Struggle: DIY Sliding Door Roller Replacement Guide
Publish date - 04/07/2024
Is your once-smooth-gliding patio door now a jerky, frustrating obstacle course? You're not alone. Worn-out rollers are a common culprit behind sluggish sliding doors. But before you call in a pro, consider tackling a DIY sliding door roller replacement! It's a surprisingly achievable project that can save you money and restore your door's functionality.
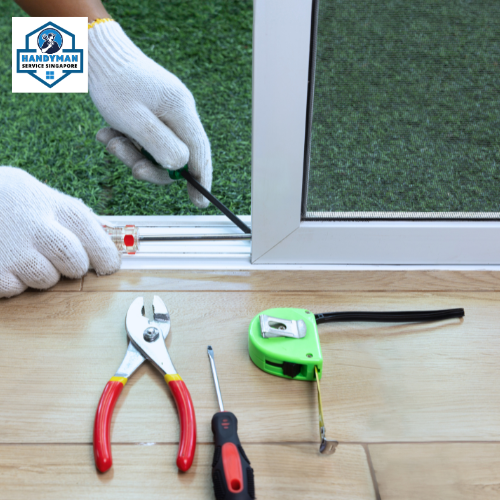
Tools You'll Need:
- Screwdriver (Phillips and flathead)
- Pliers (optional)
- Tape measure
- Replacement rollers (matched to your specific door model)
- Drop cloth (to protect your floor)
Steps to Success:
Gather Information: First things first - identify your door model! Many manufacturers have online resources with specific roller replacement instructions. If you can't find your model information, take detailed pictures of the existing rollers for reference at the hardware store.
Prep the Work Area: Clear the area around the door and lay down a drop cloth to catch any debris.
Remove the Door: Most sliding doors simply lift out of their track. Look for screws at the bottom corner or track releases that allow the door to be lifted. If you're unsure, consult your model's instructions or a quick online search.
Assess the Rollers: Once the door is removed, examine the rollers. Look for signs of wear, cracks, or broken parts. Take pictures or note down any differences between the top and bottom rollers for reinstallation.
Replace the Rollers: Here's where those detailed pictures come in handy! Following your model's instructions or using your notes, remove the old rollers and replace them with the new ones. Pay attention to any specific installation requirements.
Reinstall the Door: Carefully lift the door back into its track, ensuring the rollers are properly aligned. Secure the door according to your model's instructions.
Test and Adjust: Slide the door back and forth. If it glides smoothly, you're done! If not, there might be minor adjustments needed. Some rollers allow for tension control - consult your instructions for proper adjustment techniques.
Bonus Tips:
- Safety First: When removing the door, be cautious of its weight. Recruit a helper if needed.
- Take Your Time: Don't rush the process. Carefully follow the steps and double-check your work before reinstalling the door.
- Extra TLC: While you're at it, consider cleaning the door track and applying a lubricant suitable for sliding doors.
Replacing your sliding door rollers can be a rewarding DIY project. With a little preparation and these handy steps, you can get your door back in tip-top shape and enjoy a smooth glide once again! Remember, if you're ever unsure about any part of the process, don't hesitate to consult a professional.